Using the ‘click trigger’ option in Divi Attention! allows you to make virtually any element on your page a trigger for your attention element.
Set the trigger class or ID in your attention trigger module
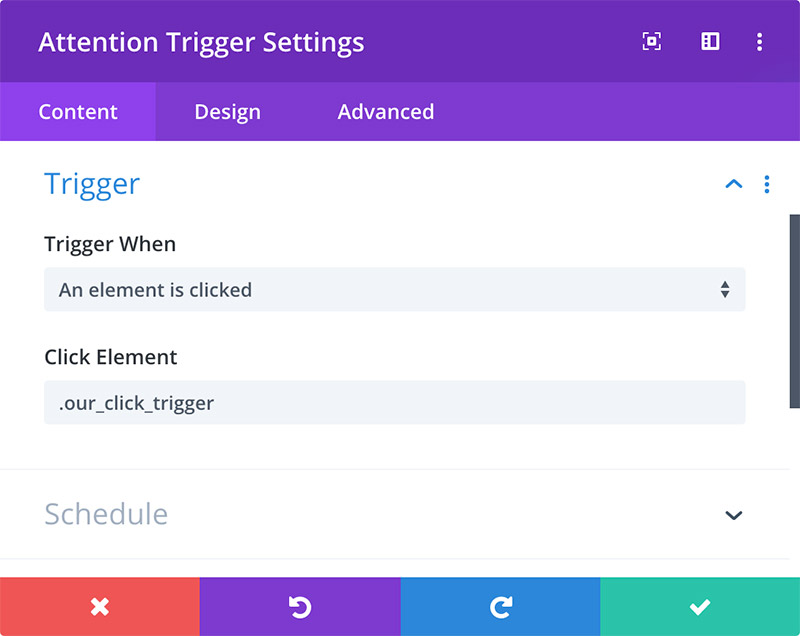
The first step is tell the trigger module what CSS class or ID it should be expecting a click event on to display your attention element. To do this, open your trigger module, select the Trigger toggle and enter a CSS class or ID in the Click Element field.
Add the trigger class/ID to trigger elements
Now you can add the trigger class/ID any element you’d like to make a click trigger for your attention element. This will work on virtually any element on your page, including (but not limited to):
- buttons
- images
- text links
- blurbs
- menu links
To add CSS classes or IDs to Divi modules, open the settings for any Divi module, click on the Advanced tab and open the CSS Classes & ID toggle. Use the CSS ID field to add an ID or the CSS Class field to add class(es) as shown in the image below.

Important: it is considered semantically invalid for HTML documents to contain more than one element with the same CSS ID. For this reason we highly recommend you use a CSS class instead of an ID if you’re going to have more than one element act as a trigger for an attention element on the same page.